How to Attach and Download Files
Your tutor may attach files to the lesson request page to download before or after your lesson. You may also want to upload files to send to your tutor as well. On this page we will show you how to do so on Cafetalk.
Choose the lesson
First, you need to select the lesson that you want to download a file from/upload a file to.
After logging into Cafetalk, click on "Request". This will take you to a list of your requests. Select the lesson that has the attached file icon.
(You can also access the lesson request page by clicking on the URL sent to you in the file attachment notification email)

Select the lesson that has the attached file.
(You can also access the lesson request page by clicking on the URL contained in the file attachment notification email)
Downloading a File
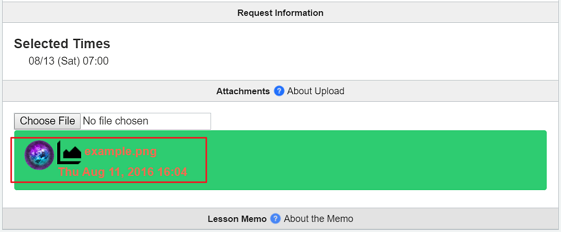
The name of the file that your tutor uploaded should appear in a green box in the middle of the lesson request page under Attachments.

Click on the green box and your download will begin.
Uploading a File (Attaching a File)
If you want to send a file to your tutor, you can do so from the same “Attachments” area in the middle of the lesson request page. Click “Choose File,” select the file from your computer, and it will upload.

After the upload is complete, you will see the file name appear in a green box. This is confirmation that the file has uploaded correctly. Your tutor will automatically receive a notification email.

If you would like to delete an attachment, click on the button on the right side of the file name.
